
Maintaining the proper cleanliness level of your computer is paramount for its longevity. If you’ve just invested 1,200$ in a new computer, I assume you want to use it for as long as possible (or until you can just get a new one) and make sure that it works just fine and doesn’t slow down. I’m sorry I have to be the one to tell you this, but if you want your computer working properly and being in tip-top shape for a long time, you need to regularly clean it and make sure that it doesn’t get cluttered with dust.
Most people make the mistake of only cleaning their PC components and completely ignoring the slots, but sometimes the slots are the real problem. It’s not too difficult to clean your PC to perfection. All you have to do is follow a few simple steps and everything will be just fine.
You need to properly disconnect everything before you begin cleaning your PC
This is very important! You need to turn your computer off and disconnect everything properly before you even think about opening the case. I’m not talking just about the power, here. I’m talking about the whole thing. I mean, if you don’t unplug everything, not only do you risk damaging your computer, but you also risk hurting yourself. You should never put yourself in peril if you can avoid it. This is the first and proper step to do this so don’t underestimate it. Unplug everything, like I said – power, keyboard, mouse, audio, headphones, monitor – everything. Don’t forget to switch the computer off, though. Otherwise your PSU might get damaged (if you’re lucky), or even your CPU or GPU. Tread extra carefully when you’re handling your computer.
Open the case and disconnect all components
Some components you will be able to disconnect without the use of extra tools, while others will involve the use of screwdrivers. Disconnect all components but make sure that you know what you’re doing and that you will be able reassemble it. Now that you’ve disconnected everything, get a soft-haired brush and can of compressed air (yeah, that totally is a thing; you can buy compressed air) and clean each individual component. Use the brush to clean the larger dust particles and bigger quantities of the nasty powder-like substance. After you’ve done that, take the can of compressed air and remove the fines particles by aiming it at the component and squeezing the trigger. Remember that air that comes out of the can is pretty cold so if you don’t want it to condensate on the surface of your hardware and cause damage. Clean each individual component with care.
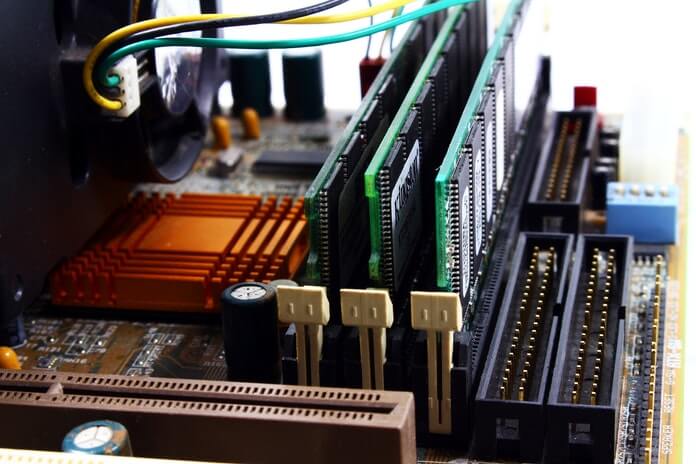
Now that the case is opened and the components are removed, clean the sockets and slots
Now that your motherboard is basically naked, you can clean all the slots. Use the same methods as cleaning the components. Gently brush off larger particles and use the compressed air for smaller particles. It’s really easy to do. Just make sure that you’re gentle and don’t break anything. There are many fine components on your motherboard – transistors, resistors and a whole plethora of other micro-parts. You don’t want to damage them so you should be extra careful. If you don’t push it, you should be fine. Just don’t apply too much pressure. After you’ve cleaned all the sockets – RAM slots, CPU, GPU ports, HDD ports, USB ports and the rest, reassemble the computer and see if it works. If everything has gone perfectly, your computer should work better than ever.